Showing posts with label baking and cooking. Show all posts

Tuesday, 3 April 2012

Meadow Party

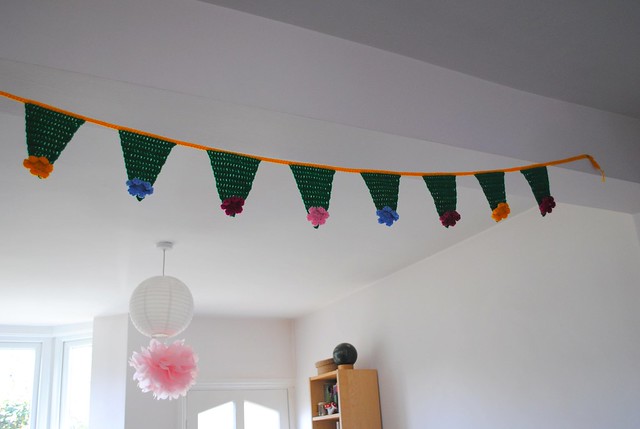
Flower bunting

On Saturday Lillia turned 6 and had a "meadow" themed party at home to celebrate.  There were far too many sweet treats of course, with a few carrot sticks and cucumber slices thrown in to balance it out a bit. But most of all there were plenty of games and fun. I had a lot of fun making crochet bunting and other little decorations. The flower bunting above was inspired by this tutorial and it was perfect for a meadow theme.

I made up the pattern for mini bunting and used yarn left over from other projects to make it...
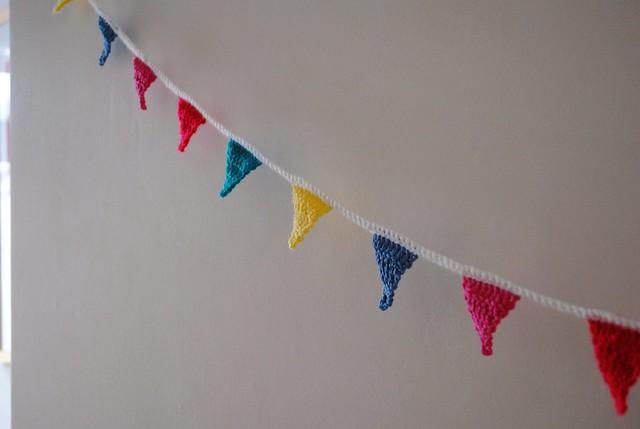
Mini bunting

I was very pleased with this, I really love the colours. In fact all the bunting is still up! I don't think I will take it down until well after Easter is done :) As well as bunting there were many bunches of cheery daffs dotted about the place looking festive...
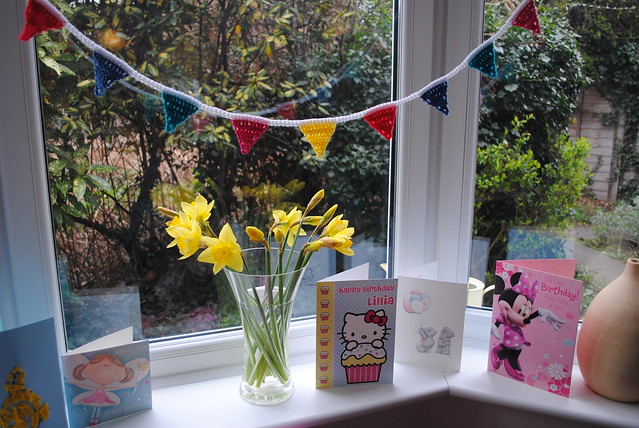
Bunting and daffodils

I love daffodils. Yellow is my favourite colour and they are only 99p a bunch, so at this time of year I can afford to have fresh flowers in the house!
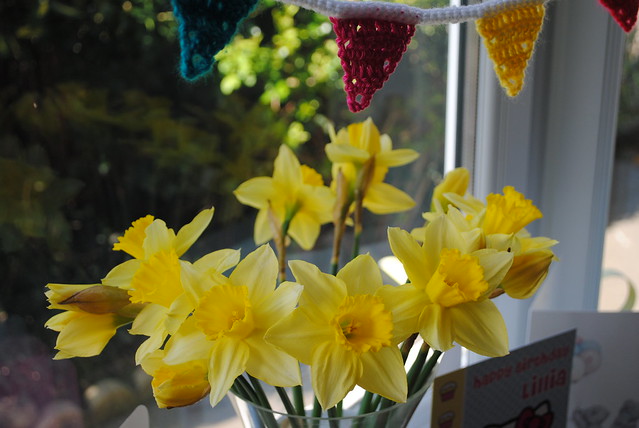
Bunting and Daffodils

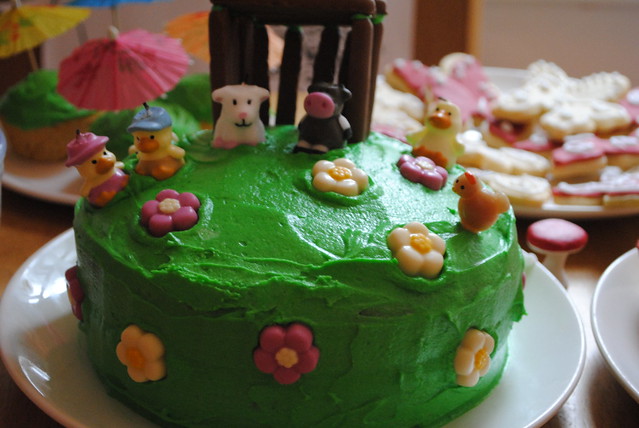
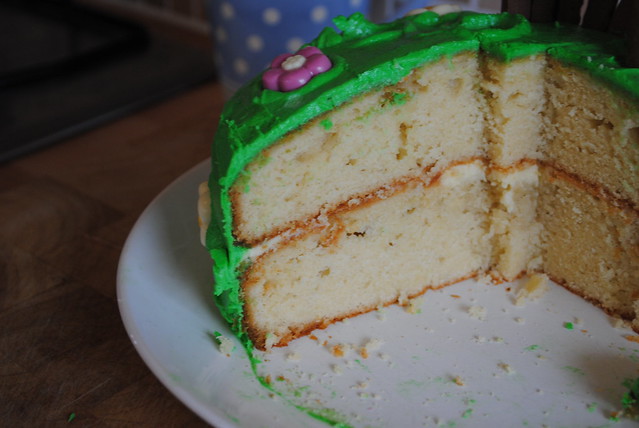
I made a meadow cake of course...

Meadow cake

And I also made plenty of butterfly biscuits...
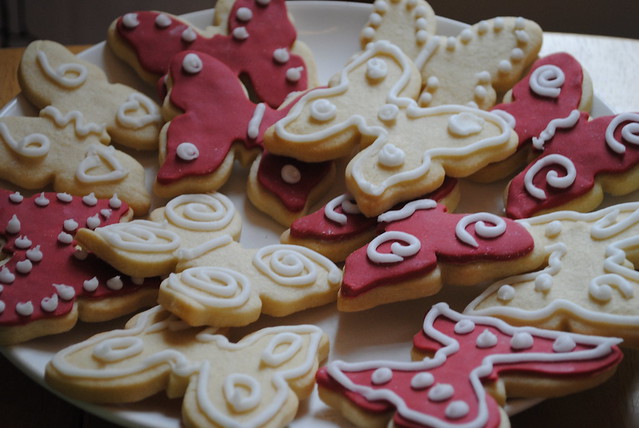
Butterfly biscuits

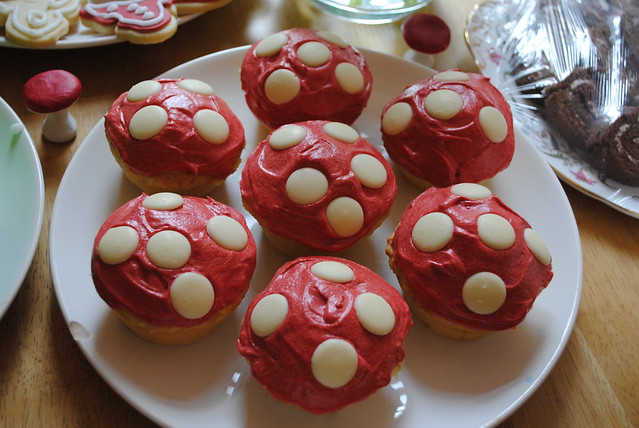
...and toadstool muffins...

Toadstool muffins

...and faced with leftover green buttercream icing I decided to create some "meadow muffins" too...!
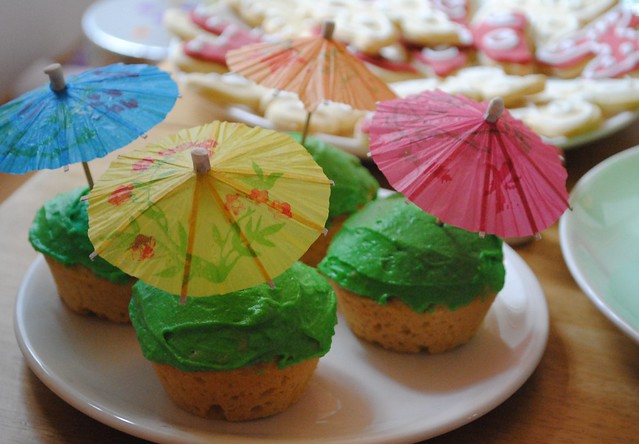
Meadow muffins

Honestly I think I had eaten a ton of buttercream before 10am just from the odd lick of a spoon or finger! Myum myum! Good job Lillia was too busy making fairy rings using pink helium balloons to notice.
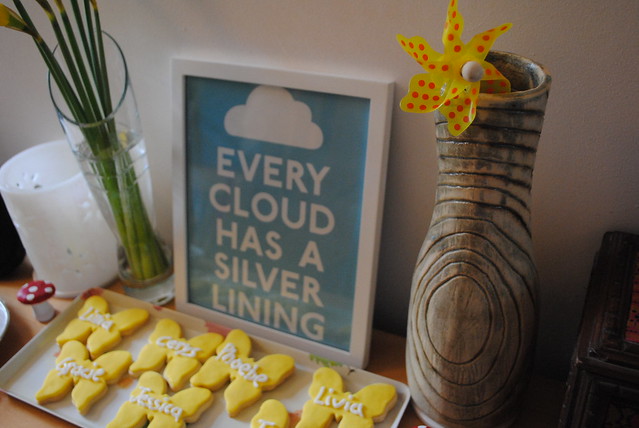
Every guest had their own butterfly biscuit

Every guest had their own butterfly cookie with their name piped on in icing, and we had little colourful windmills scatted about as well as in the party bags. They looked so pretty poking out, I totally forgot to take a photograph of them all lined up, it was just all so manic getting everything ready!
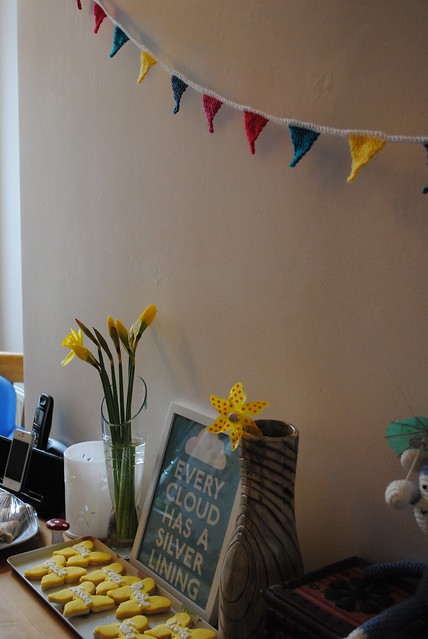
Bunting and daffodils :)

The vase holding the yellow windmill is one of mine by the way, do you like it?

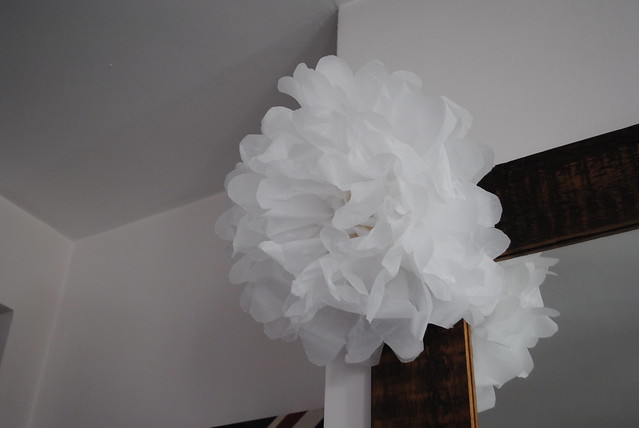
Then of course we had our paper pom poms adding the finishing touch...
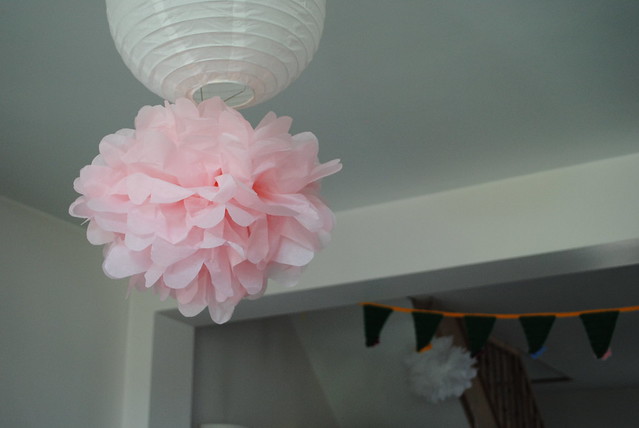
Pink paper pom pom

White paper pom pom

We played Pin the Tail on the Cow, musical statues, musical bumps, Pass the Parcel, we had an Easter egg hunt and then there was Wally the Wicked Wasp - our homemade pinata! Sadly I completely forgot to take a proper photo before he was smashed to a pulp by 6 sugar-fuelled 6-year-olds with a rolling pin. But here he is in action...
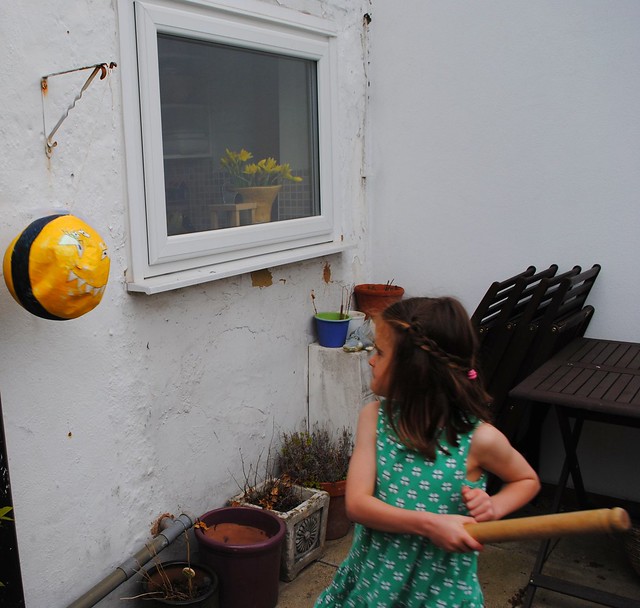
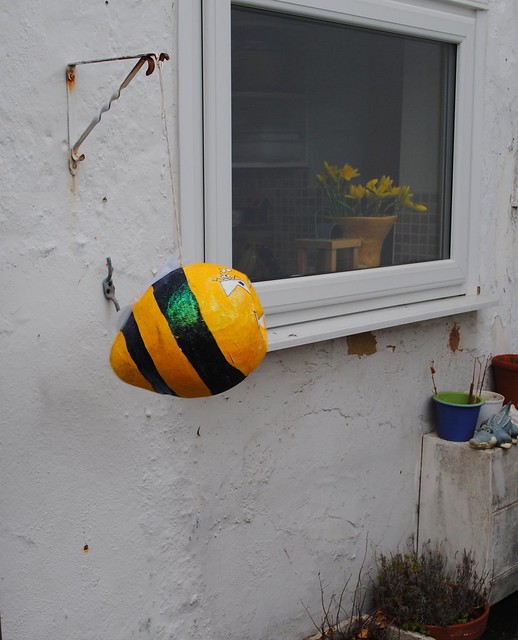
Wally the Wicked Wasp - our homemade pinata!  Wally the Wicked Wasp - our homemade pinata!

Lillia didn't want the pinata to be anything she liked, like a bumble bee or a toadstool, as she didn't like the idea of whacking it otherwise! Bless her. So a wicked wasp was the solution! He was stuffed full of chocolates and party blowers, they had a great time!
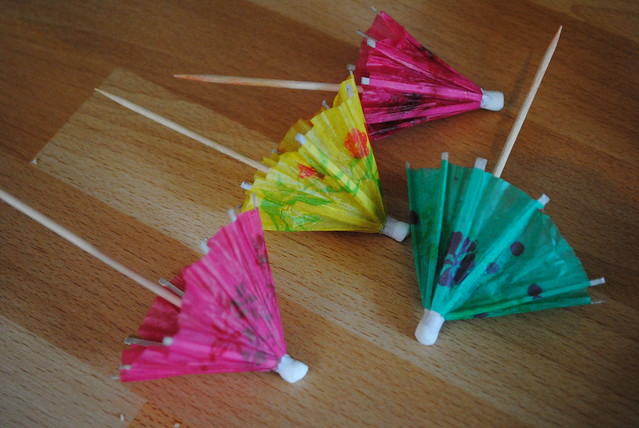
Cocktail umbrellas

It was a tiring but lovely day.  Lillia had a wonderful birthday, I just can't believe she is 6-years-old.  Where did that time go?
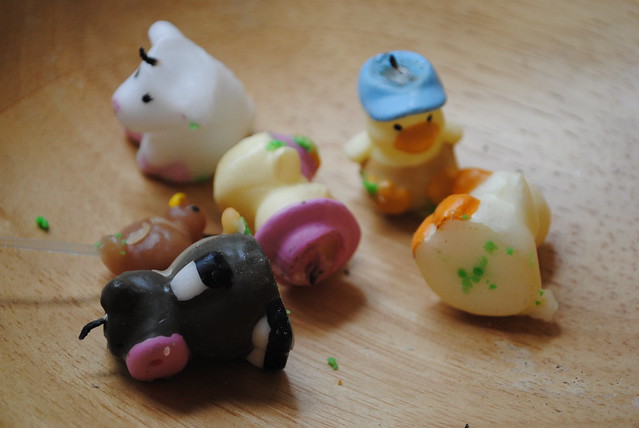
Animal candles

The meadow cake went down well!

There is still a bit of cake left so I best get on and help with the eating of it, might be some wine left somewhere in the fridge too :0)

Happy Birthday Lillipops
xx

Sunday, 18 March 2012

A day for the mummies

Happy Mother's Day everyone...I trust you were all spoiled? I certainly was with a good lie in (needed after a few glasses of muscadet in the local last night), then a cup of tea and pancakes in bed, lovely cards, cuddles and a couple of lovely little thoughtful gifts.

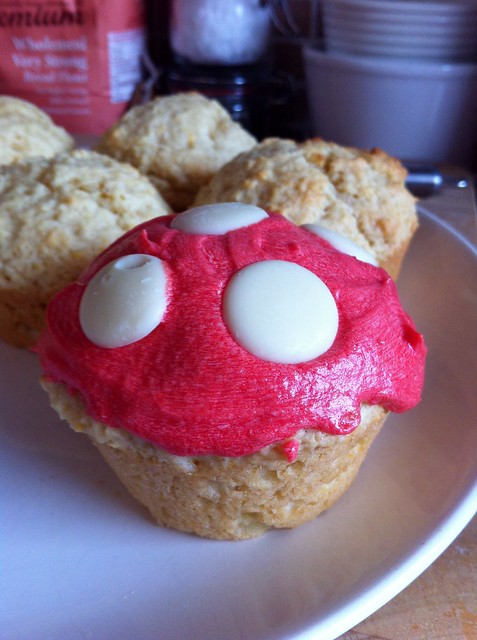
I've also had time this weekend to experiment making some toadstool muffins for Lillia's upcoming 6th birthday "meadow" party.

Toadstool muffin

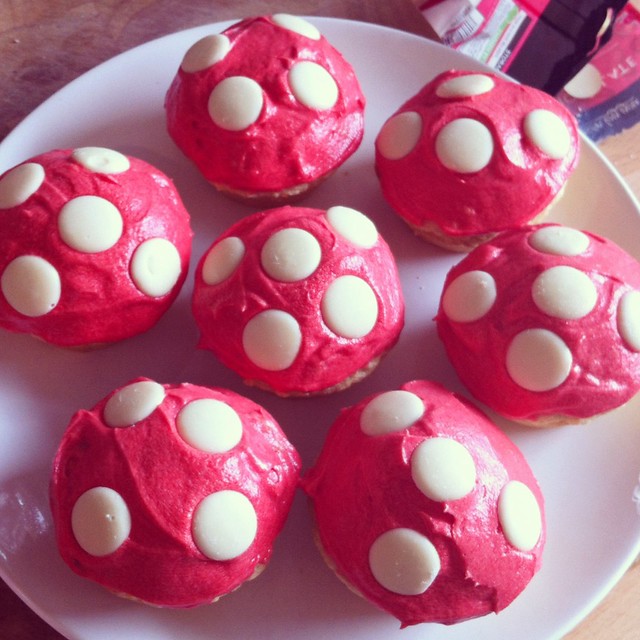
I found some professional food colour that colours butter icing really well (didn't want a repeat of the dead salmon cake) and I used white chocolate buttons for the toadstool spots.  What do you think?

Toadstool muffins

These are actually orange muffins with orange buttercream icing.  You only need to eat one of these, my goodness they are delicious but filling! I am rather pleased with how they came out and I think they will make a very whimsical addition to the meadow-themed food :)

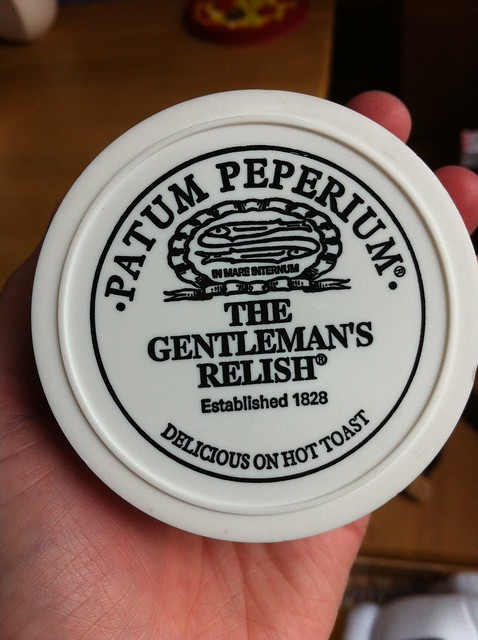
For mother's day lunch we went to my mum's and prepared her a buffet style array of goodies.  We tried Gentleman's Relish for the first time, not sure I'll be in a hurry to try it again!  Rather...um...salty...and fishy, very fishy. Blergh.  Nice pot though...

Gentleman's Relish

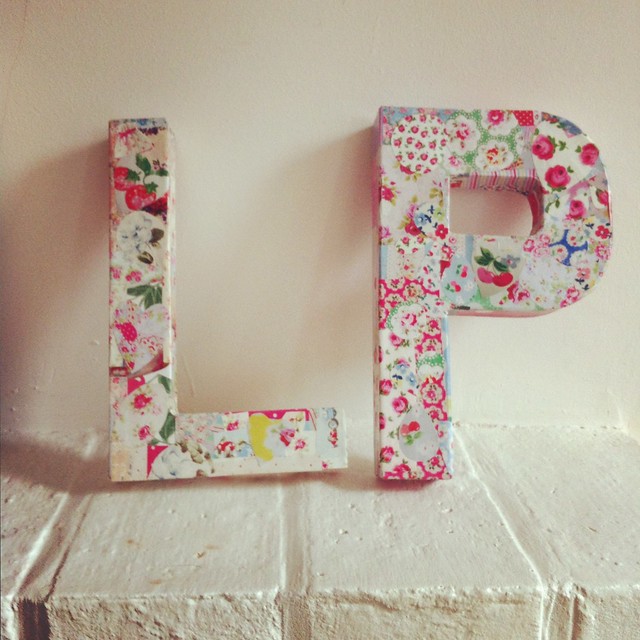
Amidst the mother's day lunching, fish paste sampling and muffin making, I have also had a chance to attempt something I've been wanting to do for some time - my own version of decopatching...

My own take on "decopatch"

Papier mache letters from Hobbycraft decorated with ripped up pages of the Cath Kidston catalogue stuck on with PVA glue.  This is just a sneak peak, more on this in another post soon! 

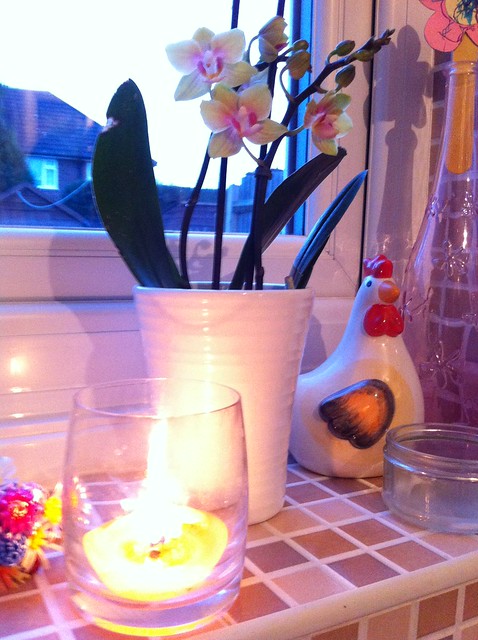
Well, it's been a long weekend so I am going to enjoy my orchid and my chocolate-scented candle, perhaps partake in a little Ben & Jerry's cookie dough and have a very early night.


Sunday evening

Happy Mother's Day everyone x


Thursday, 20 October 2011

Making time to make it

I am always cutting out recipes and projects from magazines, favouriting patterns on Ravelry, saving tutorials to my bookmarks. And usually they all just sit there - in piles, in the queue, on my hard drive - waiting...and not getting done. They just get lost underneath the ever-lasting To Do lists. Occasionally I will get them out, look at them, sigh at my lack of time and energy and then hide them away again.

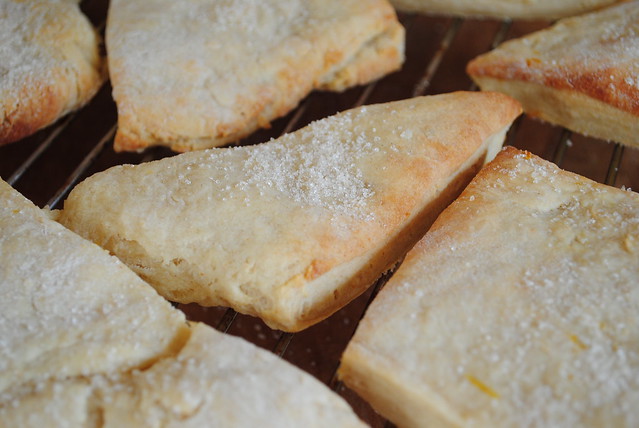
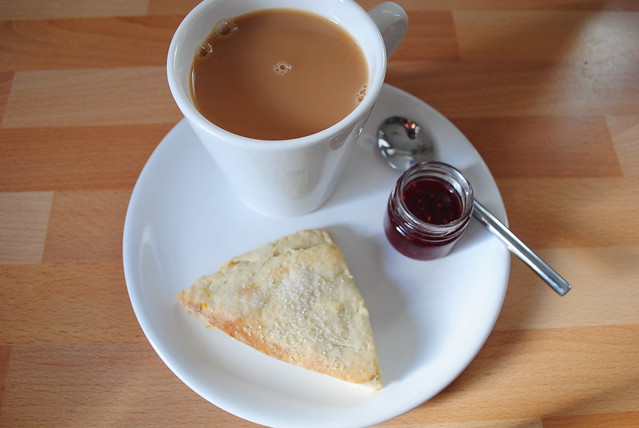
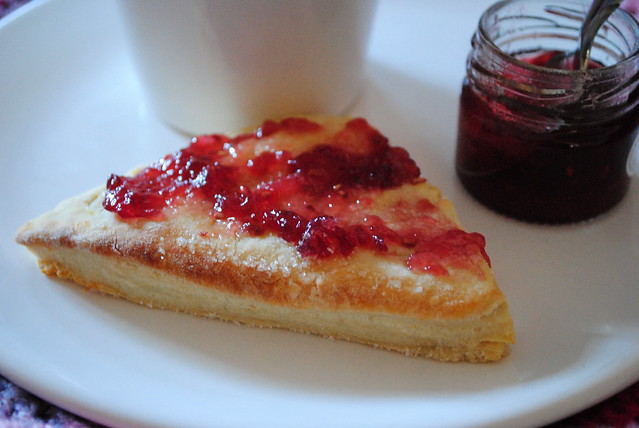
Lemon Scones

So I thought as motivation for myself, and others, I would start a new regular spot on my blog - a monthly reason to stop everything and just crack on with one of these little projects. After all most of them would only take an hour tops, I just need to create the time. So switch the telly off, put down the ironing, leave whatever chores there are and join me in giving yourself time to make it!

The rules are:
1. Choose something from your wish list of things to make or do - could be a recipe, a crochet pattern, a sewing tutorial or a project from a magazine or book.
2. Set aside time in your day or evening to make it - could be an hour, could be all day, could be ten minutes here and there throughout the day, as long as you make the time.
3. Take photos and post about what you have made, or started to make - do not worry about lighting or bad pictures - no apologies to be made for blurriness or autumnal darkness - just snap and post!
4. Enjoy enjoy enjoy! Make the most of this precious little time to get something made, and share it with me here!

I am going to run this every month on the 20th...at least that's the plan :)

Lemon Scones
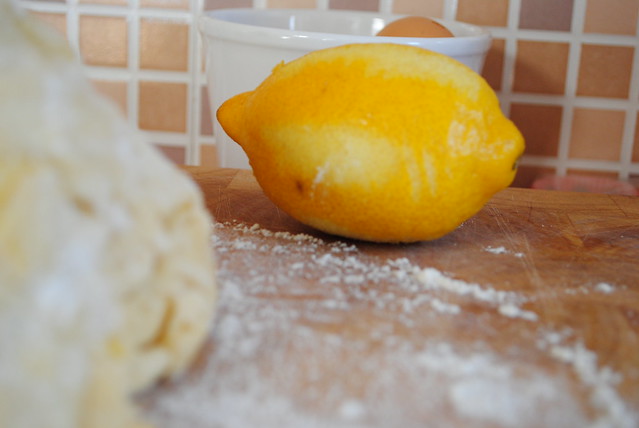
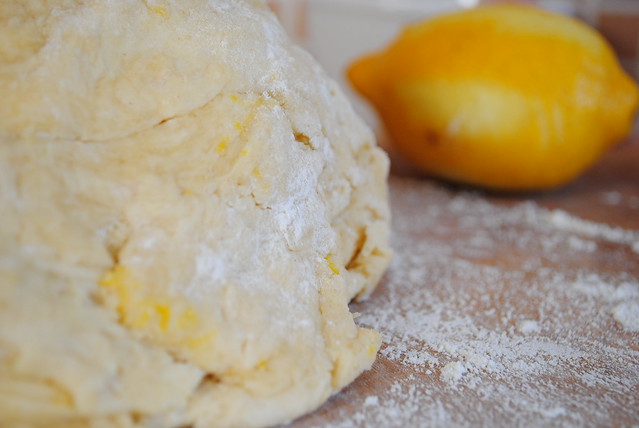
It's National Baking Week here in the UK at the moment so I thought I would start with a recipe that I have had lurking in my bookmarks for some time...a long time...Soulemama's lemon scones. A very summery sounding treat for midweek in October...but mmmmm!  So I set aside half an hour this morning after the rush of getting everyone out for school, work and nursery and just made them, at last!

Lemon Scones

Lemon Scones

Lemon Scones

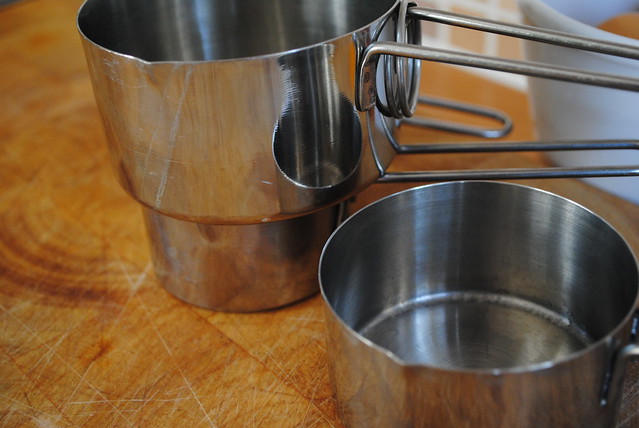
A few notes on this recipe - firstly in the first bit where she says mix the milk, sugar and egg together, she means honey, not sugar.  For 350 degrees that's 180c, and for the butter about 120g melted makes half a cup!  Also baking soda in the UK is bicarbonate of soda, not baking powder which is what I actually put it, oops, but they were still yummy :)

If you decide to make something today do stop by here to let me know!  I will set up a linky thingy next time if enough people want to join me.  Now, excuse me whilst I go and scoff the rest of this lemon scone...

Lemon Scones

Monday, 10 October 2011

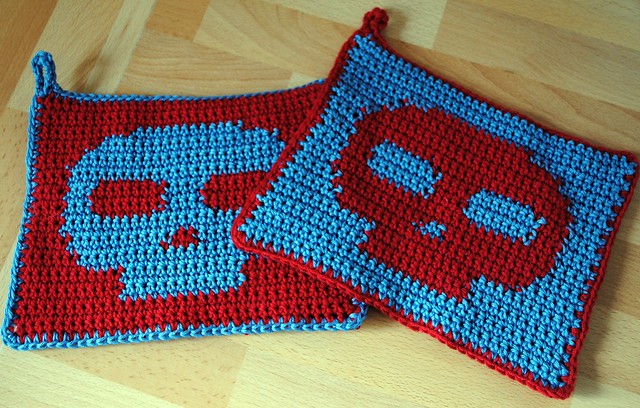
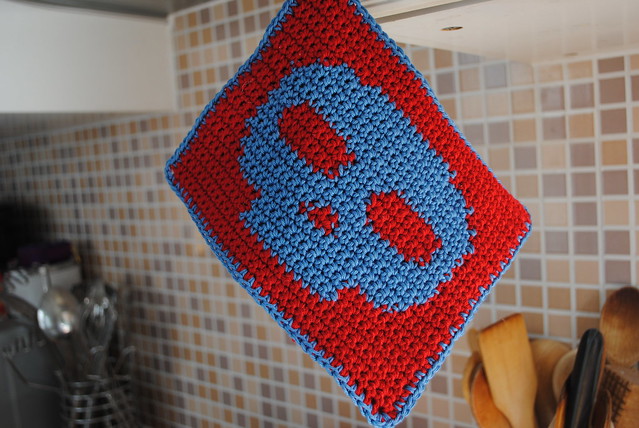
Happy Hooker Backwards Project #35: Skullholders

The day before I went into hospital I had managed to whip up the next project in the Happy Hooker Backwards project.  I had been really keen but slightly apprehensive about this one so I was so happy to find the pattern a dream to do :)

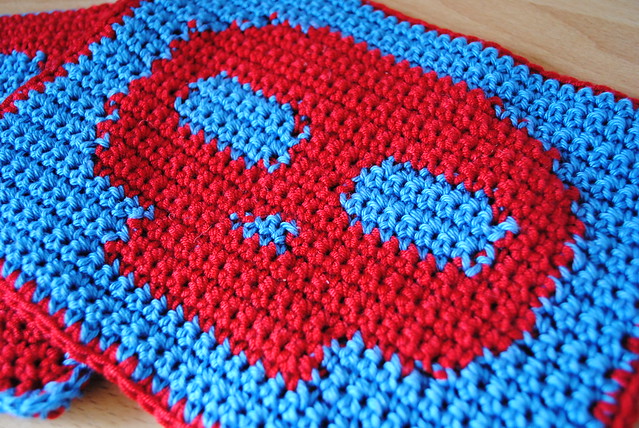
Once I got the hang of switching colours I got to enjoy the simple nature of colourwork. Though I must admit the mess on the underside of this kind of crochet makes me very twitchy indeed!  It's just not neat, and I love neat.  If you are making colourwork things like these you can expect the back side of your work to look rather like this...


*shudder*

Terrifying isn't it?  But just try not to think about it because the other side looks like this...

DSC_0470


DSC_0469

DSC_0473

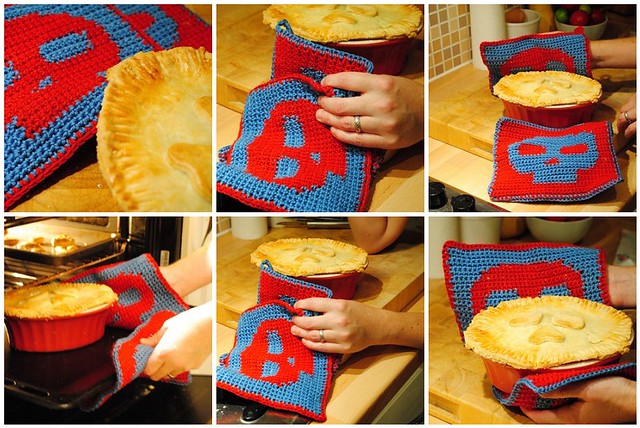
Of course in order to properly show off these potholders I had to recreate the picture in the book itself, which meant I had to make a pie.  I used a recipe from one of the contestants in the first series of the wonderful Great British Bake Off.  Remember Ruth's beef pie from series one?  Well, no, neither did I until I looked it up.  The recipe is here and let me tell you it was yummy scrummy...

Mosaic - Skullholders

One beef pie served up in style with the new skullholders :)

And here's the project lowdown:

  • Cost - about £3 - I used less than a ball of each colour to make a pair. 
  • Yarn - Any double knit would do, but I used Patons Smoothie DK as I am slightly in love with its creamy smooth texture.
  • Hook - 4mm
  • Difficulty - Once you get the hang of the colour switching this is no more difficult that just crocheting a simple square of single stitches. 
  • Overall happiness with finished object - very pleased with this one.  Not only were they a pleasure to make, but they are also very tactile and cool to look at, plus they are super-useful! AND I had to make pie to show them off.  Total bonus.


  • By the way do you like my pie dish?  Pretty cool right?  More on that later this week! 

    Tuesday, 20 September 2011

    Super Chocolately Brownies

    Hello hello!  Lovely and sunny here in Kent today, sunny and fresh and very autumnal, just the way I like it.  I've been doing a bit of blog maintenance at last, I stole my mum's lovely fresh, new, working laptop and have at last been able to get some stuff done without waiting 20 minutes for each page to load.  So if you look above *points enthusiastically upwards* you will see some new buttons! 

    There's an About Me page full of useful stuff about me, why I started this blog, links to some of my favourite bits etc.  I also made a page just for the Happy Hooker Backwards Project so I can log all my efforts in one place - I was actually rather surprised to see I am onto the FIFTH project!

     
    I also changed my comments settings so that anybody can comment...at least I thought so...but now it seems I can't comment on my own blog...How does that make any sense at all?  So if anybody could tell me their settings I would be very grateful so I can work out what I am doing wrong.  Also if you get a minute if could attempt to leave a comment to see if it works that would be very handy too.

     
    Enough of this jibber jabber anyway.  I thought today I would share with you a recipe.  I was sat here fancying a little something sweet and I thought I would rustle up my super chocolately brownies.  These are extremely easy to make and very cheap too, plus the recipe uses mainly cup measurements so no fussing about with scales.  I've always made them from memory so the process and ingredients keep changing but here's the recipe I used today...enjoy!


    Super chocolately brownies
    • 200g butter (I used Stork as I always have some in the fridge)
    • Half a cup of cocoa powder
    • Two large pinches of salt
    • One teaspoon of vanilla essence
    • Two cups (yes two!) of soft brown sugar
    • One cup of plain flour
    • 2 medium eggs
    • A heaped half cup of chopped walnuts
    Preheat the oven to 190 degrees and grease a shallow baking tray with butter.

    Melt the butter and cocoa powder over a low heat in a large saucepan, do this gently and don't let it start to boil. 


    Once it's all melted together add in the salt, sugar and vanilla, I really love Sainsbury's Madagascan vanilla...no I'm not being sponsored by Sainsbury's!  It's just what I like to use :)


    Stir the lot together and take the pan off the heat, then sift in the flour and mix that in too.  Add the eggs and give it a really good beat until everything is smooth and silky looking.  Then stir in the walnuts.


    Pour the mixture into the baking tray and spread it evenly.

    Put it in the oven for 20-25 minutes.  Then let it cool in the tine before cutting into squares and scoffing down with a cup of tea.


     All very quick and simple, perfect for when you need a quick sugar fix.  This recipe works really well with other nuts, like pecans, too...or if you are really desperate and the local shop is shut you could always just make them without the nuts.  And if you are feeling really decadent you can finish the brownies off with a drizzle of chocolate icing...mmmm!  Enjoy!

    Friday, 4 March 2011

    Malteser Muffins

    I was twittering on about my favourite recipe for malteser muffins when Fi of Childcare is Fun asked if I would like to share the recipe on her site.  Of course I was more than happy to spread the joy of malteser muffins.  I must admit the recipe is not of my own conception, I am not that clever, it comes from an old and cake mix splattered cutting from a magazine.  I've had it for years and can't say which mag it came from so I am guessing it's ok to share.   So without further ado please click here or on the pictures to be taken to the recipe, you are just a click away from muffin heaven, trust me...


    If you make them do leave a comment here or over on the recipe at Childcare is Fun to let me know how you got on.  Enjoy!

    Wednesday, 24 November 2010

    Cosy feet

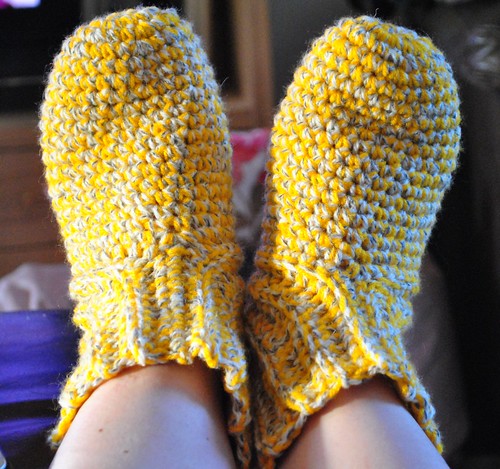
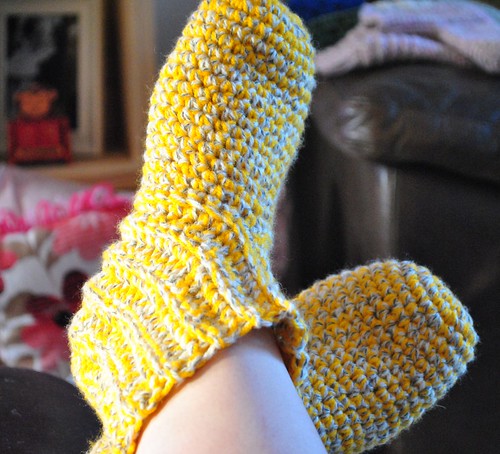
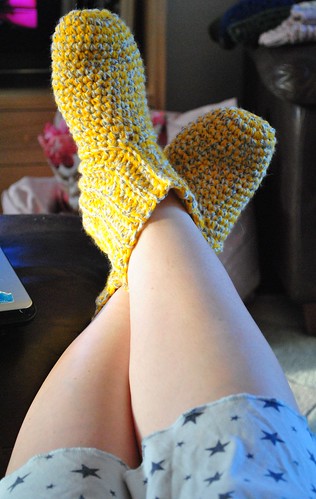
    Crochet yellow slipper socks

    Apparently snow is on its way so I made myself my own pair of slipper socks to match Hubby's and Lillia's.  Now we shall all have cosy toes when the white stuff arrives.

    Yellow slipper socks

    Yellow is my absolute favourite colour so they had to be yellow :)  I mixed some soft acrylic double-knit yarn with the same aran yarn I used for their's.

    My own slipper socks

    Perfect.

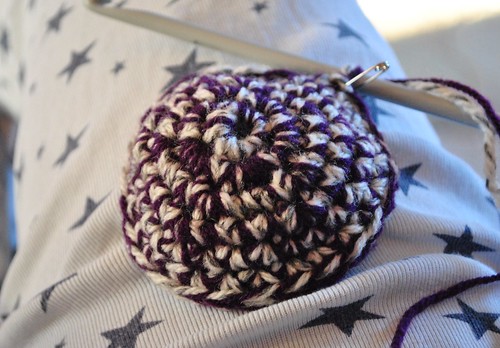
    On the hook is the next pair - aran with a deep purple this time...
    Onto the next...purple!

    I am slightly addicted to making these.  Every time I finish one pair I think of somebody else to make a pair for and a fair stock of these socks are slowly piling up in my Christmas present basket!  And lets face it I have plenty of time to sit and make them - with just over a week until my due date I am still here at home waiting for signs that this baby is going to make an appearance. I have been so convinced all the way through that she would be early that now the due date is approaching I am beginning to doubt my instincts!
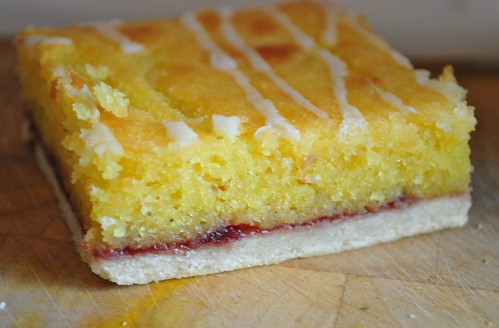
    Still, wtih Lillia at school for a large portion of each day it has been nice to enjoy some nice quiet time on my own before the whirlwind of a newborn arrives.  In the kitchen some homemade bakewell tart...

    Homemade Bakewell Tart

    I still can't believe I actually made this, it's totally divine!

    And also some fresh pineapple...

    Fresh pineapple - trying to get things moving!

    I think I'd have to eat about ten fresh pineapples to actually stimulate labour of course...but at least it's tasty and healthy :)


    Thursday, 16 September 2010

    Every cloud...


    Ok so I may be unwell and in a slight limbo while I decide which route to take to, hopefully, better health...but being stuck at home with a few child-free hours a day has its advantages.

    Like having the time to make some of my favourite lemon cookies...


    And of course having the time to eat them :)

    I've also had a bit of sofa time to complete my "background" crochet project, the one I keep for when I'm between "proper" projects, like now whilst I am waiting for a stock of yarn to come in to finish my Li'l Monkey blanket.


    This bag came about for two reasons - firstly as I needed a yarn bag, and secondly because I need to use up my stash of acrylic wool to free up space before the baby arrives.


    This was made up as I went along - a continuous round of double crochet, handles worked in single crochet (I'm talking US terms here) and then edged with some bobbly picot edging.


    I'm rather pleased with the edging as I had to apply a little of my crochet experience to figure out the best way to space it out and how to do this.    It's the perfect size for all my yarn...


    Now I just need to work out what my next project should be!  Better head off to Ravelry for more baby hat patterns I think :)