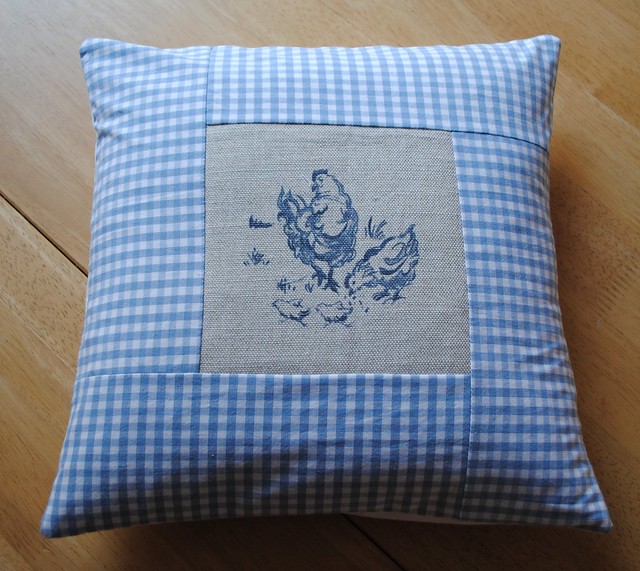
Cute isn't it? I have quite a stash of interesting fabric and this chicken one I bought over a year ago as a fat quarter on eBay. I bought it with my sister in mind - she keeps ex-battery hens and is a bit of a sandal-wearing-animal-loving-vegan geek (except with fabulous shoes instead of sandals) so I knew she would love it....I just had to think of what to actually make with it.
Then I came across some dinky little cushion pads and I knew then that the chicken fabric would become a cushion! I knew I wanted the print to be the central motif with a border around it in a kind of spiral. It took me aaaaages to work out how to do this, I am sure there must be an easier more professional way out there, but the way I worked out is actually pretty simple.
This is a really simple little tutorial, even if you are new to sewing. It is small at only 30x30cm and there are no tricky zips or buttons to contend with :)
So, here we go...
Throw Cushion Tutorial
You will need:
- 1 cushion pad measuring 30cm x 30cm (mine is from Dunelm Mill)
- 1 piece of your feature fabric measuring 13cm x 13cm (mine is the chicken fabric)
- 4 pieces of your border fabric, each measuring 22cm x 10cm (mine is the blue gingham, which is organic cotton and bought here)
- 2 pieces of your backing fabric, one measuring 18cm x 31cm and the other measuring 23cm x 31cm (mine is the white fabric, also organic cotton from the same place as before)
- Thread, scissors, pins and sewing machine (or just a sewing needle of course!)
Start off by cutting out all your pieces and ironing them...
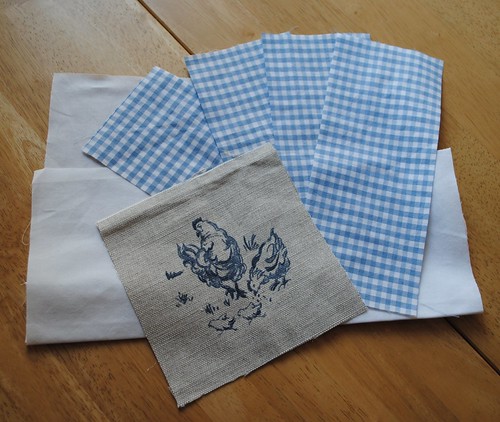
Just a note - I wanted to make sure my chicken print was nice and central. I did this by cutting out a 13cm x 13cm square from a clean sandwich bag. I then placed this over the print so I could make sure it sat in the correct place, marked the corners then drew the lines with tailor's chalk before cutting out with a rotary cutter. It worked for me!

So now let's assemble the front of the cushion. Your pieces will be laid out like this together...
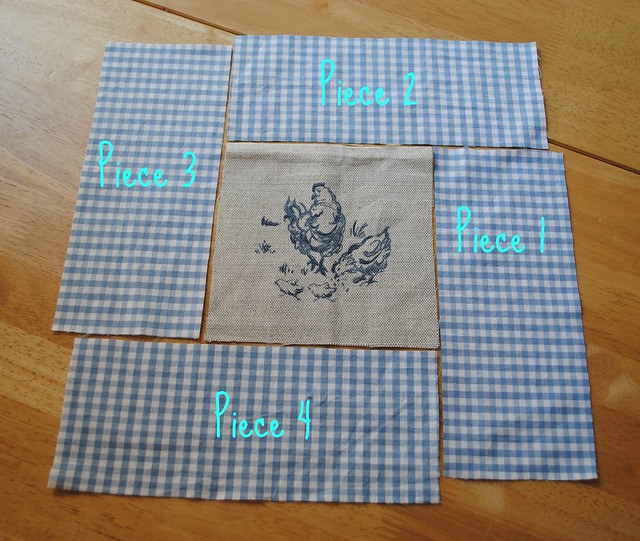
I have numbered the pieces so you can see clearly which piece is which as we continue along.
Take Piece 1 and pin it (right sides together) to the right side of your feature piece...
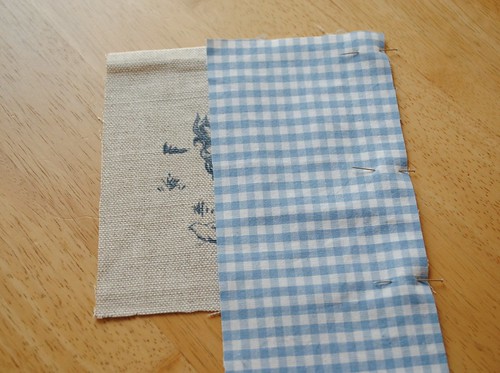
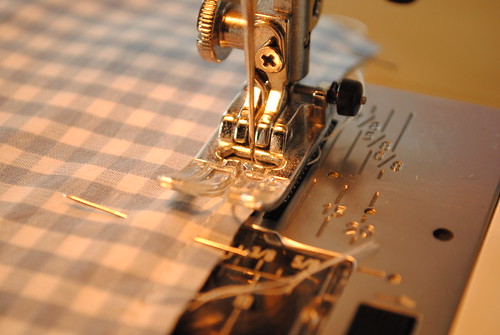
Now sew from the top to about two thirds of the way down your feature piece...
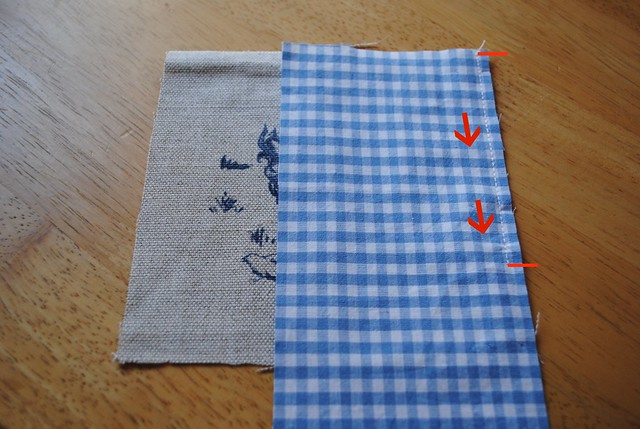
You will want to have sewed about the same as I've marked below...
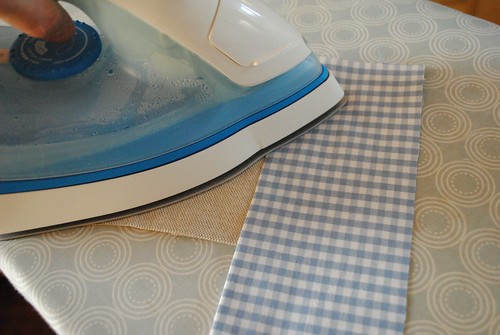
Now iron it all nice and flat...
Next take Piece 2 and pin it right sides together along the top of your feature piece and Piece 1...
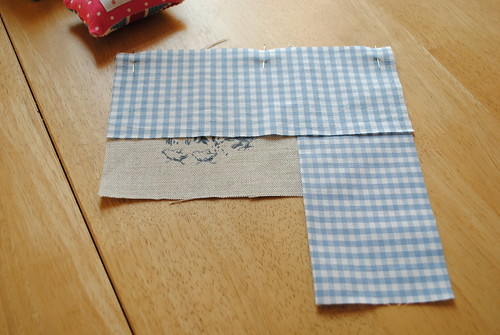
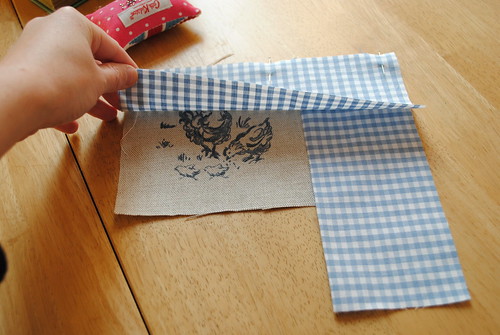
Now sew it all the way along, then iron it nice and flat...
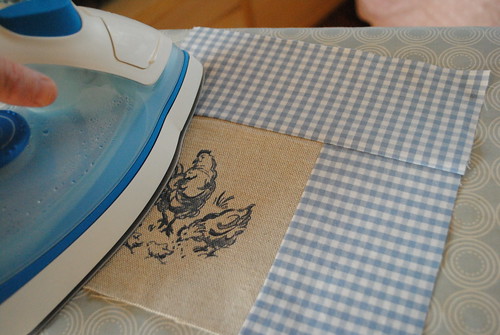
Make sure you give both sides a good flattening!

Take Piece 3 and pin it right sides together along the left side of your feature fabric and Piece 2...
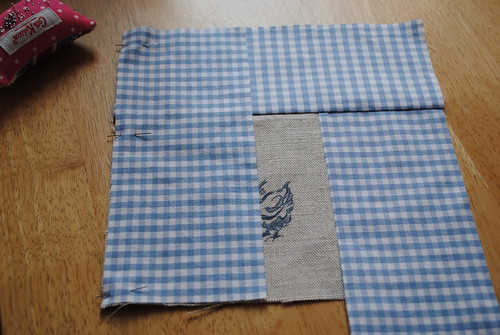
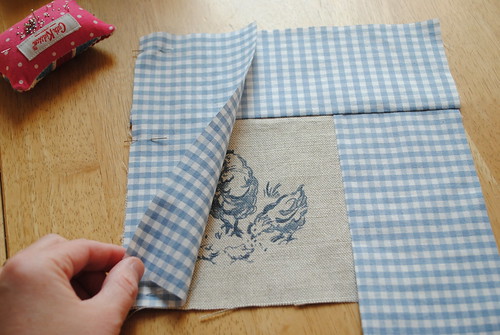
Sew all the way along then...yup you've guessed it...give everything a really good iron...
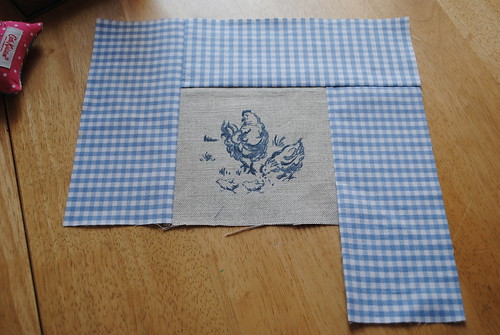
Take Piece 4 and pin it right sides together along the bottom of your feature fabric and Piece 3. Make sure you move the unsewn part of Piece 1 out the way while you do this...
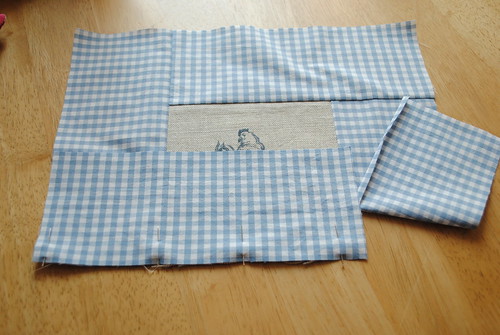
Now sew all the way along as before making sure that unsewn bit of Piece 1 is out of the way. Then give everything a good iron.
Your front piece now looks like this with all the parts sewn together apart from that one flappy bit that we left unsewn on Piece 1...
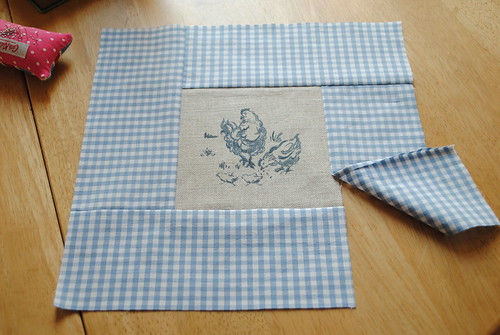
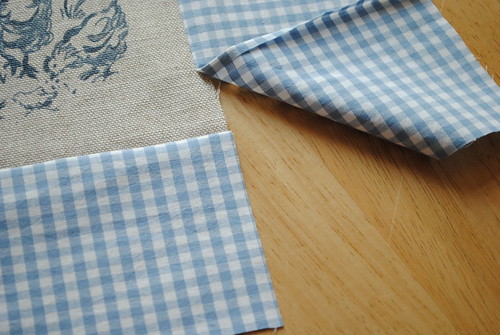
Now for the tricky bit! Though to be honest it really isn't all that tricky: Fold Piece 1 back over so it sits right sides together against your feature fabric and Piece 4. Line up the edges and pin it all together. Make sure it's all neat and flat...
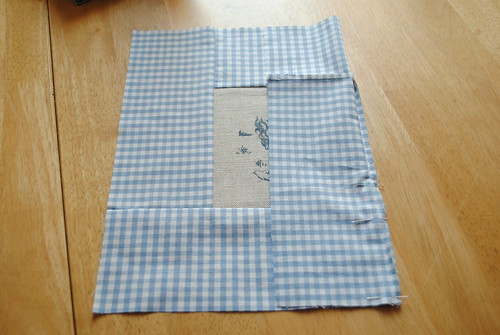
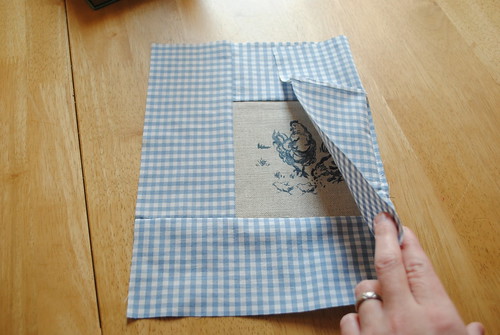
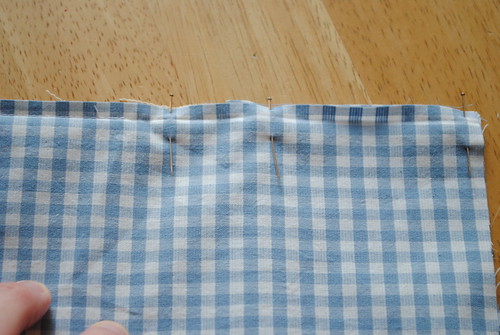
Now start sewing from where you left off earlier and all the way to the end to fully attach Piece 1. Then give everything one final good iron...
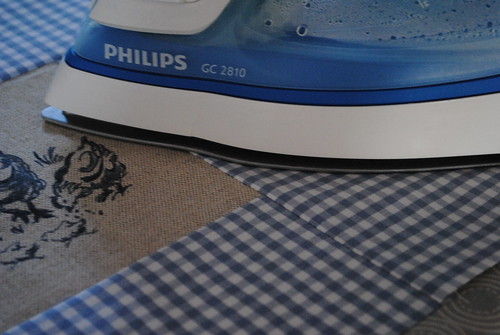
If you have managed to sew everything pretty accurately it should all have worked out rather nicely and look something like this!..
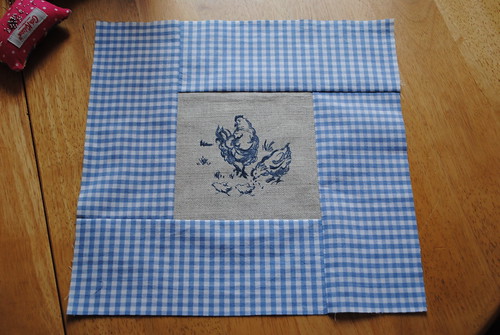
Trust me if I can do this anyone can, I am the least accurate seamstress EVER! It does help of course that I am using gingham fabric as it does wonders for helping you to sew in straight lines :)
Ok. that's the hardest work done! Time to whip up the two back pieces. Take one piece and fold one long edge (the 31cm edge) over by 1cm and iron it down...
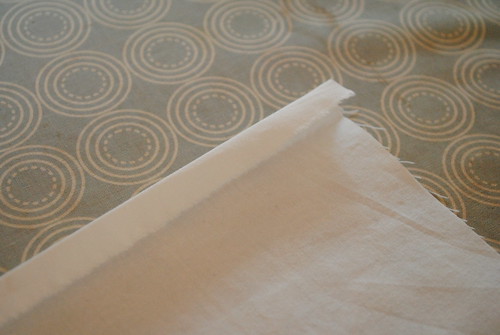
Then turn it over another 1cm (to hide the raw edge)...
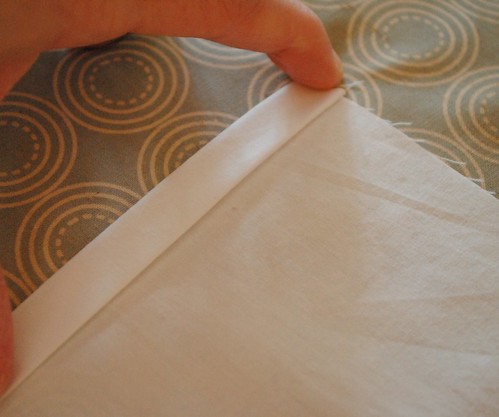
Then iron like crazy! Use steam if you can, you want to get a good crisp fold...
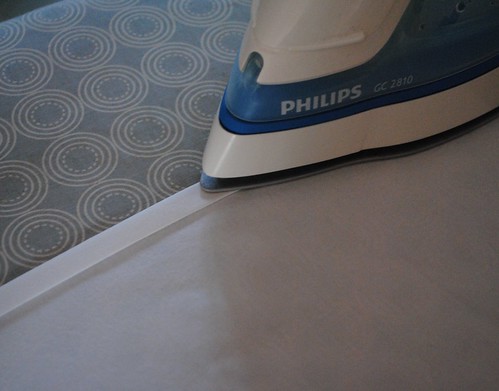
I usually pop a couple of hefty books on top after I've ironed and whilst the fabric is still warm, just for a few minutes, it helps the fold stay flat as it cools.
Now you need to sew the fold in place. How you do this is up to you - I am using matching white thread to sew one long straight line, but you could use a contrasting thread and sew two parallel lines, or a wavy line even, if you want it to be more decorative...

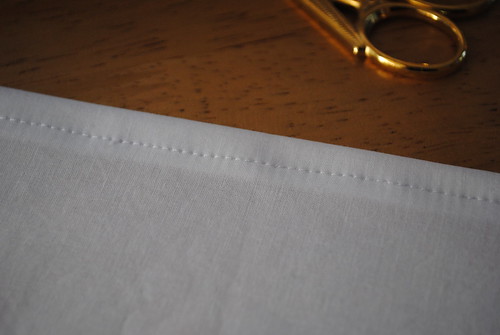
Now to the same thing to the other back piece...
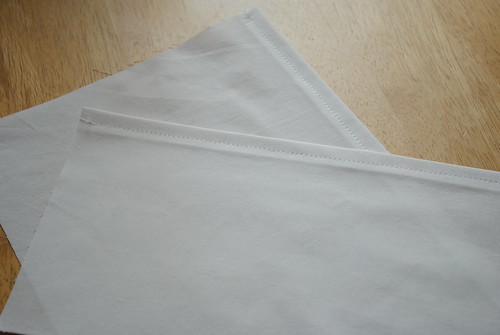
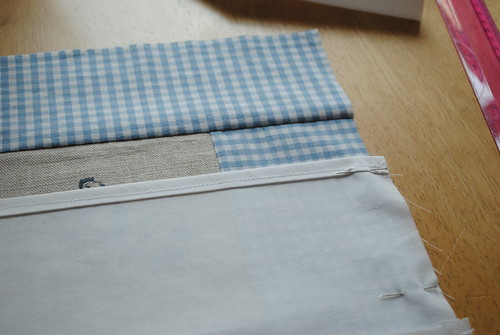
Now take one on your back pieces (doesn't really matter which one) and pin it right sides together on top of your completed front piece. Line up the long raw edge with the bottom of the front piece...
Now take your second back piece and place it right side down on top of both the front piece and the back piece you already pinned. Line up the long raw edge with the top of the front piece, the two back pieces should overlap...
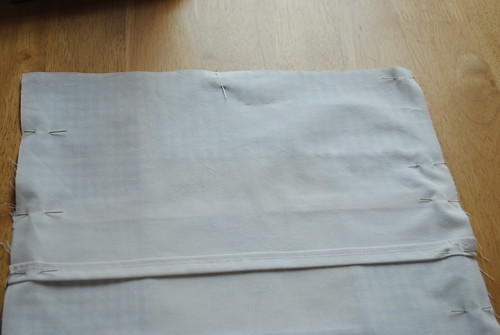
Now sew all around on every side (no need to leave a gap for turning as we will use the envelope opening). Then carefully snip little cuts into the seam allowance at the corners to reduce bulk...
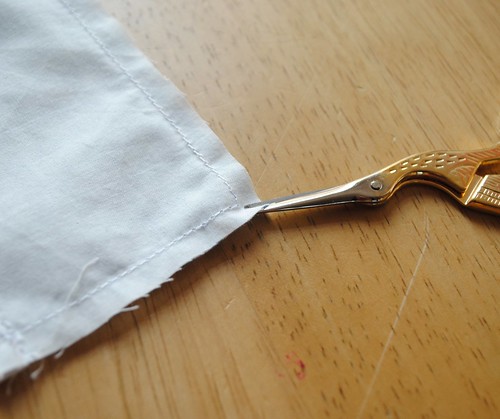
Now turn it right side out through the envelope opening at the back...

Use your finger, or a blunt object like the end of a pencil, to push out the corners fully. Then stuff your cushion pad in through the envelope opening...

Now give it all a good pooph about and a shake to get it all fitting into the corners and sitting nicely and...
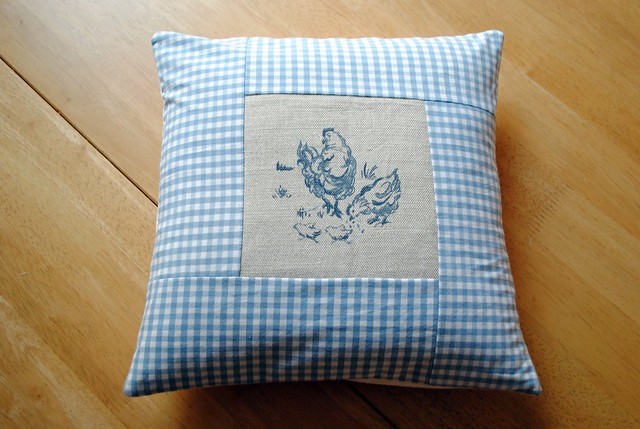
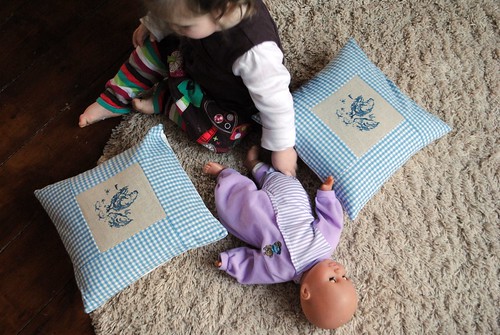
Ta da! Stand back and admire your hard work! How easy was that? So easy in fact why not do what I did and make two!..
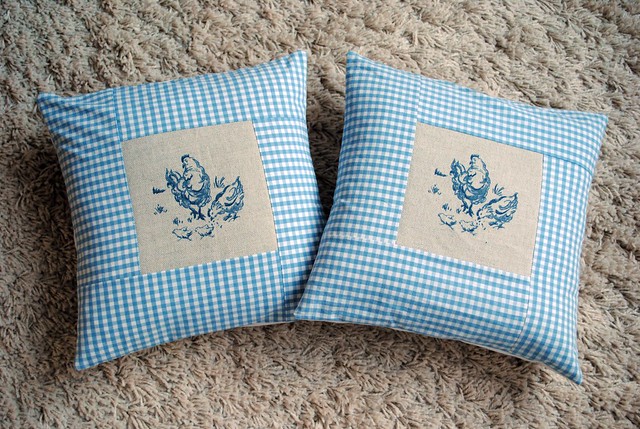
This really is a simple little cushion cover to make, you could do one in a couple of hours at most. Give it a try!
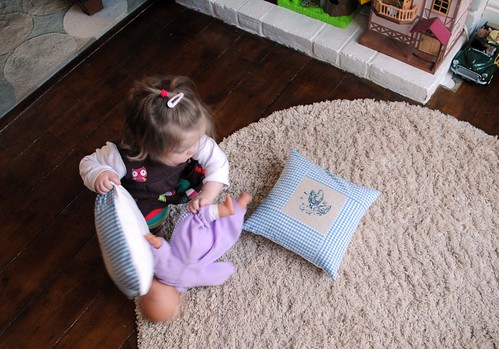
And now I will reveal how difficult it is to photograph the finished articles with a 1-year-old minibeast running about the place...
Particularly when that minibeast prefers to use the cushions as a bed for her baby doll...
Enjoy making your own cushion! And don't forget to let me know how you get on!
:)
xx